
Instrument Reprocessing from Start to Finish
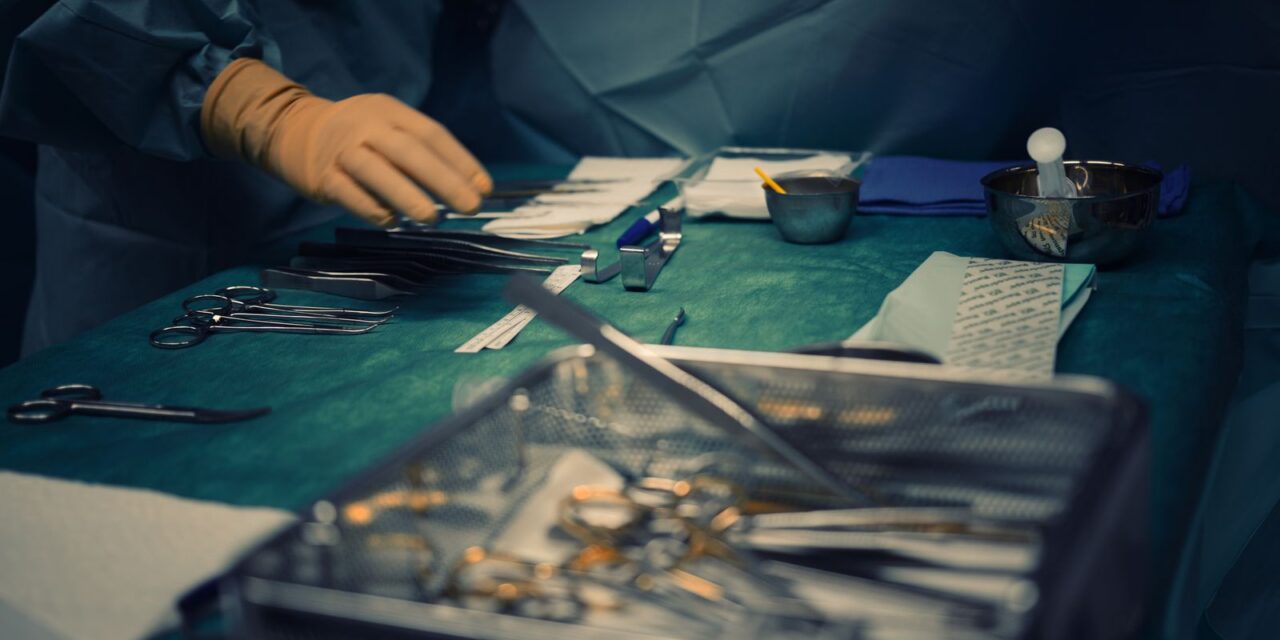
Every reusable instrument travels the same journey between patients, and the order of that journey is fixed. Steps cannot be repeated out of sequence without invalidating what came before: a pack assembled around a damp instrument fails at the storage shelf, and a soiled item sent straight to the autoclave is simply baked soil with a green indicator. This is the full path, from the theatre trolley to the sterile store, with the failure points that cost departments time.
Step 1: point of use handling
Contamination starts drying, not multiplying. Within minutes of use, blood and tissue set like glue in box joints and lumened channels, and dried soil is markedly harder to remove than fresh soil. The first step happens in theatre: keep instruments moist with an enzymatic or neutral spray, close the container, and send it to decontamination without sorting or counting on the ward. Transport carts stay covered, and sharps stay in their designated containers.
Step 2: sorting and decontamination
In the receiving zone, items are sorted by type, risk and required cycle. Wrapped sets go one way, delicate optics another, and anything with a lumen joins the queue for ultrasonic treatment or manual channel flushing. Cleaning happens here through one of three routes: a washer-disinfector cycle, ultrasonic cleaning often followed by a machine cycle, or careful manual cleaning where the item or volume justifies it. Detergent concentration, water temperature and contact time are all parameters someone has to record; the machine records them for you.
Thermal disinfection typically follows cleaning inside the same washer-disinfector program, with the A0 value logged for the load. The arithmetic behind that number is worth understanding; it is covered in A0 explained.
Step 3: inspection, assembly and packing
Clean items move to the clean zone for the step departments skip most often: inspection under good light with magnification for anything fine. Check hinges, jaws and tips for movement and alignment, look for rust or pitting, and confirm channels are clear. Damaged instruments get retired here, not in the theatre where they fail mid-procedure.
Assembly follows the set list, with instrument joints open and items positioned so steam reaches every surface. Packaging choice depends on the item: wrapped trays, rigid containers with filter lids, or pouches for small loads. Indicator strips go inside every pack, chemical indicators on the outside, and the pack label carries the contents, date, sterilizer and cycle used. Packs must be dry before sealing; moisture in the pack breaches the wrap on the shelf.
Step 4: sterilization
Loads go to the autoclave loaded per the machine manual: trays on edge where specified, no touching chamber walls, weight limits observed, and porous and metal loads separated when the cycle differs. The cycle matches the load type, air removal is proven by the day’s test, and the printout is filed with the load record. Detailed cycle guidance is in pre-vacuum and gravity displacement cycles.
Step 5: cooling, release and sterile storage
Let loads cool in the chamber or on a draft-free bench. Handle hot packs with clean gloves, inspect them for wetness and wrap damage, and apply the load release decision: released by physical and chemical indicators, or by biological monitoring results where your system requires it. Released packs move to sterile storage in the clean, dry, closed zone, FIFO style so stock turns over. Storage shelves stand off walls and floors, and any pack that gets wet, torn or dusty returns to reprocessing rather than to the shelf.
Where departments lose the plot
- Instruments dry on the ward before transport, which makes the wash step a scraping job.
- Inspection becomes a glance, so a corroded scissor reaches a case two weeks later.
- Packs are assembled damp and fail storage checks.
- Soiled and clean traffic crosses in doorways because the floor plan forces it.
- Cycle printouts are kept but not associated with the load, so records cannot be traced.
Each of those is a process or layout failure rather than an equipment failure. The zone model that prevents the crossing traffic is described in CSSD workflow: zone by zone, and ultrasonics that take the hardest cleaning jobs off the bench are covered in ultrasonic cleaners before sterilization. Equipment for each stage sits on the product pages.
Frequently asked questions
Why does reprocessing start at the point of use?
Contamination starts drying rather than multiplying. Blood and tissue set like glue in box joints and lumened channels within minutes, and dried soil is markedly harder to remove than fresh soil, so what happens at the point of use decides how the rest of the process goes.
What happens in the clean zone?
Inspection, assembly and packing. Items are checked under good light with magnification for anything fine, hinges, jaws and tips are tested for movement and alignment, then sets are assembled to the set list with instrument joints open so steam reaches every surface.
How is a load released after sterilization?
On physical, chemical and biological evidence as your facility's policy requires, after the load cools in the chamber or on a draft-free bench. Hot packs are handled with clean gloves and checked for wetness and wrap damage before they go to storage.